Looks good Dion well done, glad the motor went to a good home.
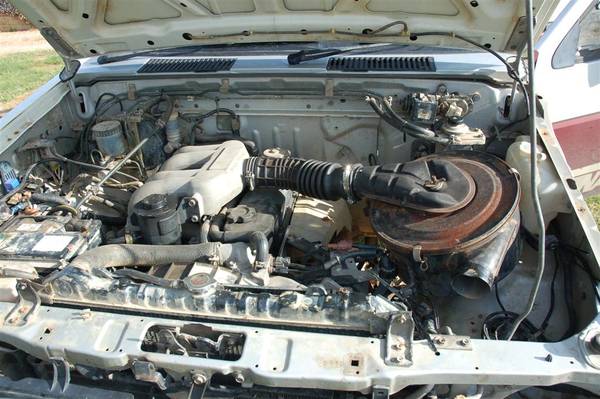
Next project after the gearbox is in place right is to bolt that turbo on.
Yeah Dave already started collecting fiddly parts for the turbo.
Nuts, studs, hoses and ducting.


Looks good Dion well done, glad the motor went to a good home.
Next project after the gearbox is in place right is to bolt that turbo on.
I take it that was on a mate's car? What was the swap?
Great work.
Pics ?
Dave.
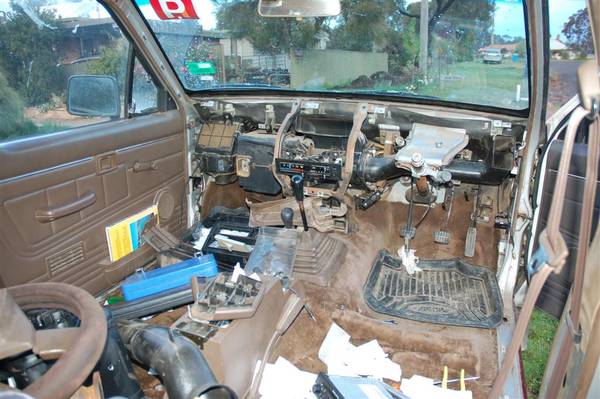
A 22 interior in this would make it the perfect 21.
This is a really interesting build up.
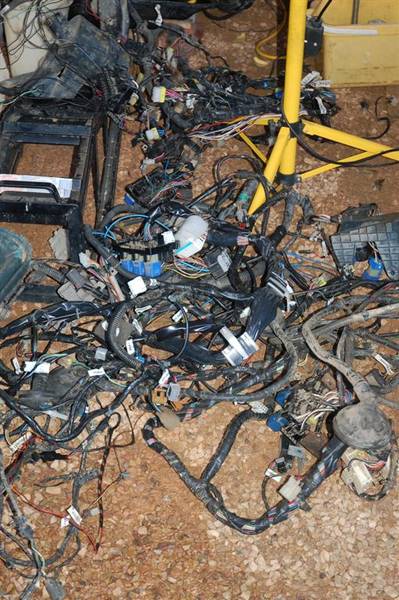
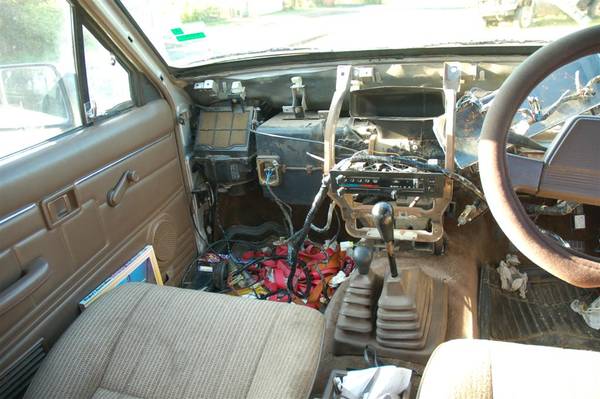
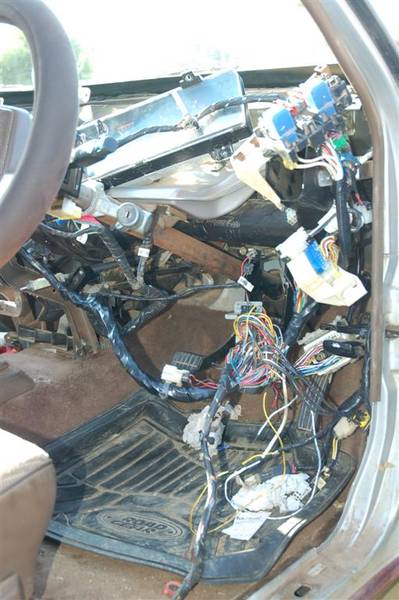
A quick question about the QD32 wiring issues. Would it have been possible to swap the sensors etc from the TD27 to run an unmodified TD27 harness?
Also, is there an easy way to visually tell the difference between an R180a and an R200a front diff. Or is it just a case of if it came out of a V6 D21 then it's a R200a?
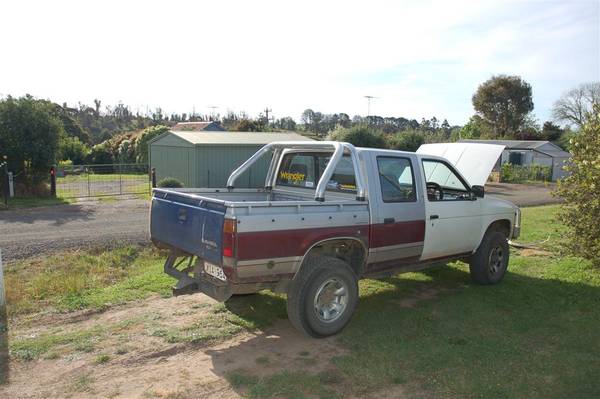
I'm a bit disappointed I thought you were going for a different colour on each panel but it appears you're just not putting in the effort.

Enter your email address to join: